Welcome to the Brother 1034D Serger Manual, your guide to mastering serger functions. This manual will help you understand and operate your Brother 1034D with ease and confidence, maximizing your sewing experience. Let’s get started!
Overview of the Brother 1034D Serger
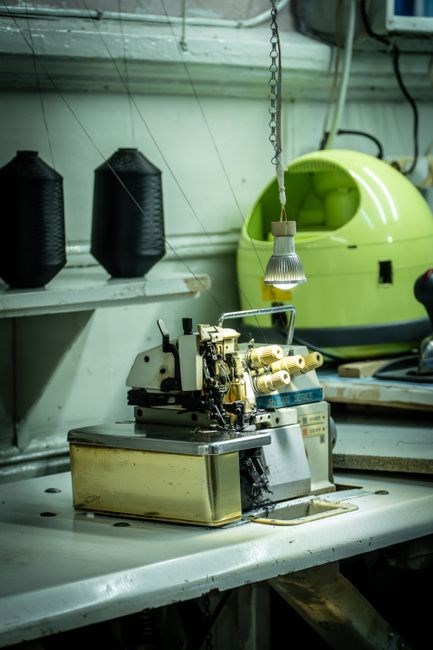
The Brother 1034D Serger is a reliable and versatile sewing machine, designed to handle various sewing tasks with ease. It features a 3/4 thread serger stitch, ideal for sewing and finishing seams, as well as a free arm design for easier maneuverability. With its user-friendly interface and affordable price, the Brother 1034D is a popular choice among sewing enthusiasts and professionals alike, offering a range of features and benefits that make it an essential tool for any sewing or crafting project, providing high-quality results and increased productivity, making it a valuable addition to any sewing room or workshop, and allowing users to create and express themselves with ease and confidence, while also providing a comprehensive set of features and functions that make it an ideal choice for sewing and crafting applications.
Getting Started
Begin by reading the manual and familiarizing yourself with the Brother 1034D serger parts and functions, then assemble and plug in the machine, and start sewing with ease and confidence.
Unpacking and Setting Up the Serger
To unpack and set up your Brother 1034D serger, carefully remove the machine from its box and inspect for any damage. Then, locate the accessories and parts, such as the power cord, foot control, and needles. Next, place the serger on a stable surface and plug in the power cord. Finally, refer to the manual for specific setup instructions to ensure proper functionality and prevent any damage to the machine. By following these steps, you can quickly and easily set up your Brother 1034D serger and start sewing with confidence.
Understanding the Brother 1034D Serger Parts Diagram
The Brother 1034D serger parts diagram is a valuable resource to understand the machine’s components, including the tension discs and loopers. It helps you identify and locate each part, making it easier to use and maintain your serger.
Identifying the Different Components of the Serger
The Brother 1034D serger has several key components, including the tension discs, loopers, and needles. To identify these components, refer to the parts diagram in your manual. The tension discs are used to adjust the tension of the threads, while the loopers are responsible for forming the loops that secure the fabric. The needles are used to sew the fabric together. By understanding the function of each component, you can use your serger with confidence and accuracy. Additionally, the serger has other components such as the cutting blade, differential feed, and stitch length control. These components work together to provide a professional finish to your sewing projects. By familiarizing yourself with the different components of your serger, you can unlock its full potential and achieve professional results.
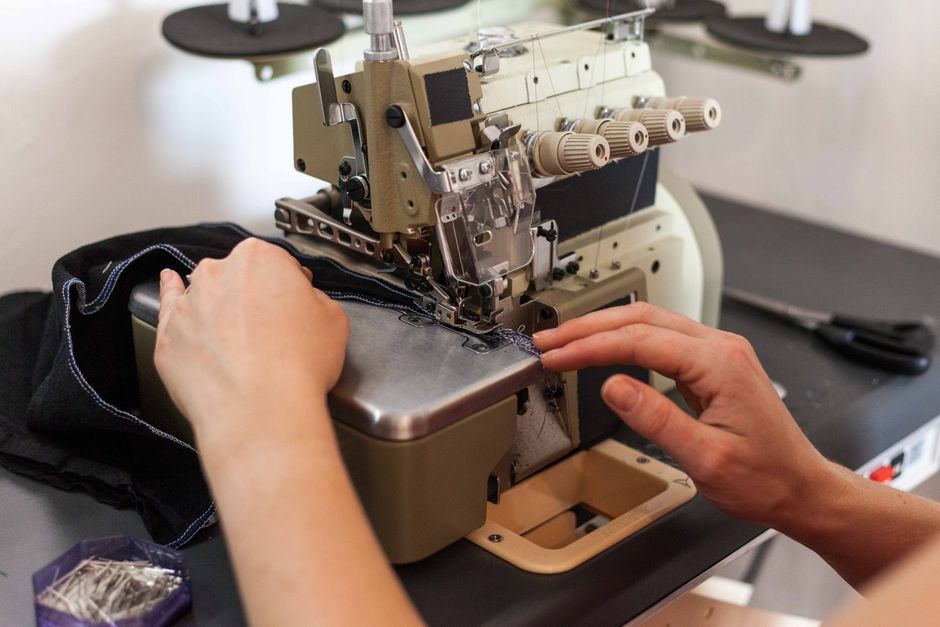
Operating the Brother 1034D Serger
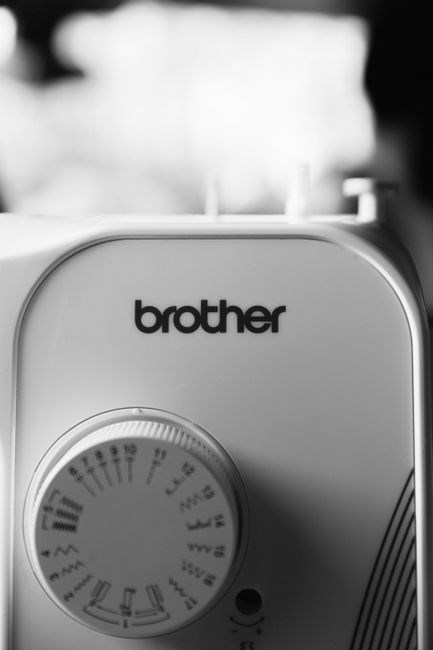
To operate the serger, first plug it in and turn it on; Then, select the desired stitch and adjust the tension as needed. Next, place the fabric under the presser foot and start sewing. Use the foot control to regulate the speed. Always refer to the manual for specific instructions.
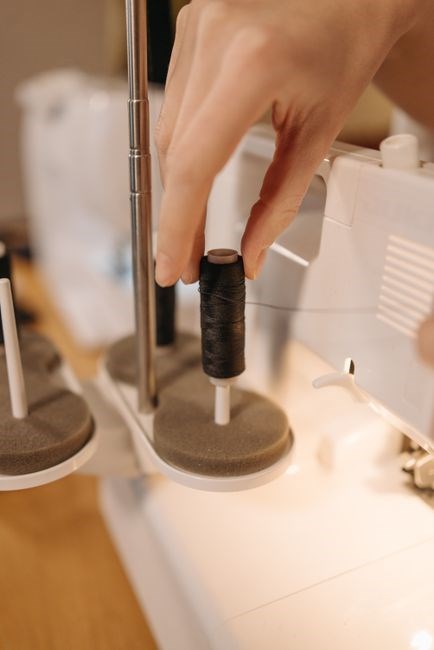
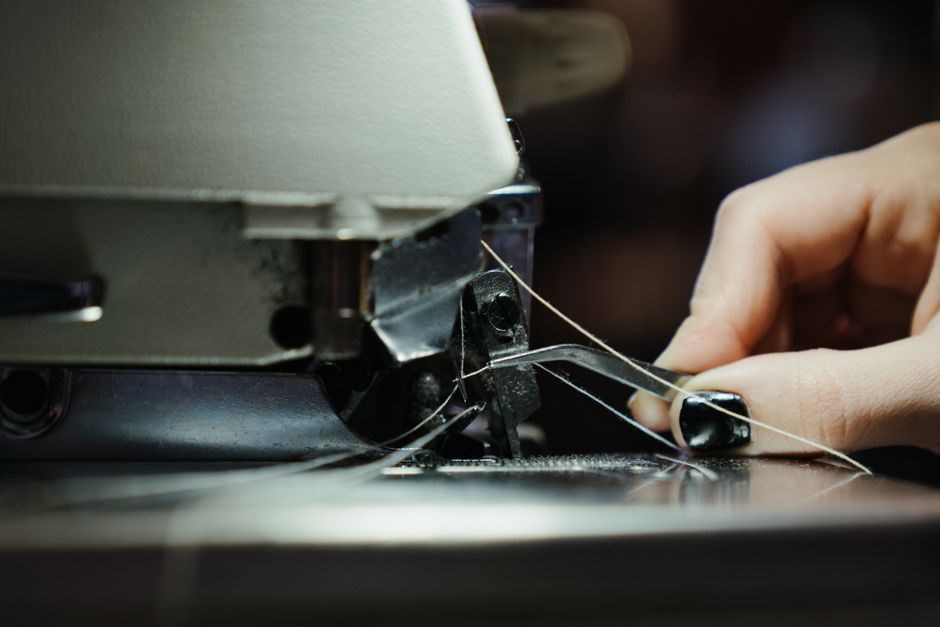
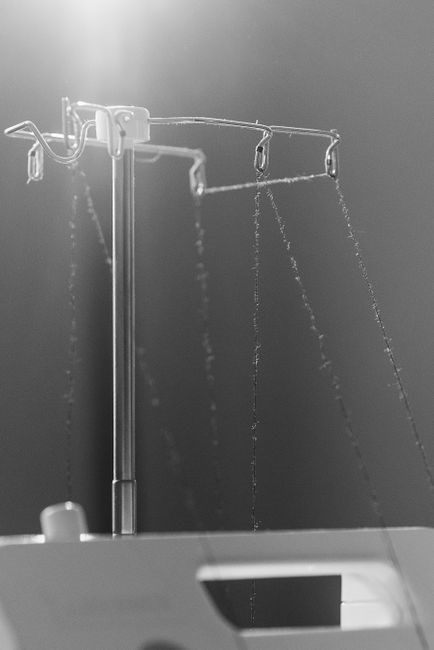
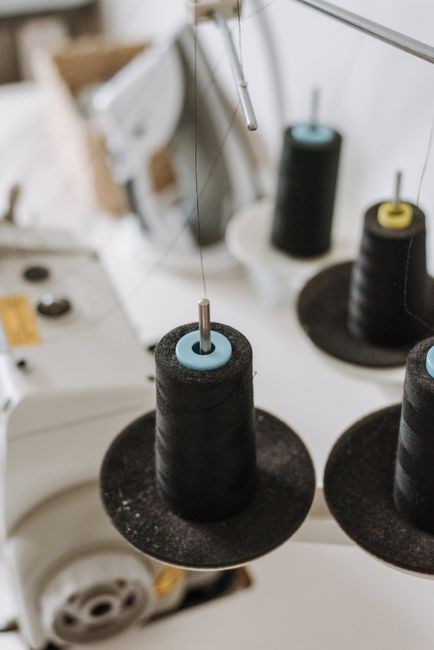
Threading the Serger and Setting the Tension
To thread the serger, follow the diagram in the manual. Start by inserting the thread into the tension disc. Then, pass it through the take-up lever and guide it through the loopers. Set the tension by turning the dials until the thread is taut. Use the tension gauges to check the settings. Adjust as needed to achieve the perfect stitch. Always refer to the manual for specific instructions on threading and tension settings. The Brother 1034D serger has a unique threading system that allows for easy thread installation and adjustment. By following the steps outlined in the manual, you can ensure that your serger is properly threaded and adjusted for optimal performance. This will help you to achieve professional-looking results with your serger. The thread tension settings can be adjusted to suit different types of fabric and sewing projects. It is important to consult the manual for specific guidelines on threading and tension settings for your Brother 1034D serger.
Troubleshooting
Use the Brother 1034D troubleshooting guide to resolve common issues, such as thread breakage and tension problems. Check the manual for solutions to errors and maintain your serger for optimal performance.
Resolving Errors and Maintaining the Serger
To resolve errors and maintain your Brother 1034D Serger, refer to the troubleshooting section of the manual. Check for loose threads, incorrect tension, and worn-out parts. Regular maintenance includes cleaning and oiling the serger to ensure smooth operation.
- Check the power cord and plug for damage.
- Verify the thread tension is set correctly.
- Consult the user manual for error codes and solutions.
By following these steps, you can resolve errors and maintain your Brother 1034D Serger for optimal performance and longevity. Regular maintenance will also prevent future errors and ensure your serger continues to function properly.
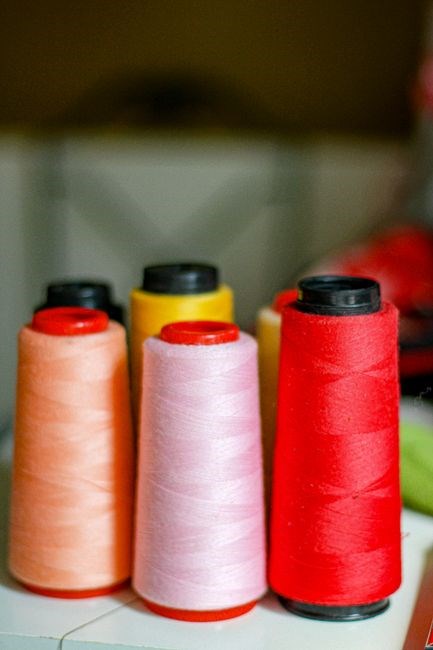
Accessories
Explore Brother 1034D accessories, including serger feet, needles, and thread; These attachments enhance your sewing experience with versatility and convenience, allowing for various stitches and techniques.
Using Serger Feet and Other Accessories
To enhance your sewing experience, utilize serger feet and accessories designed for the Brother 1034D. These attachments include blind hem, beading, and zipper feet, allowing for versatile stitches and techniques. Explore the various options available to expand your sewing capabilities. With the right accessories, you can create professional-looking garments and home decor items with ease and confidence. The Brother 1034D serger is designed to work seamlessly with these accessories, making it easy to achieve professional results. By investing in these accessories, you can take your sewing to the next level and unlock new creative possibilities. Whether you are a beginner or an experienced sewer, the Brother 1034D serger and its accessories are the perfect tools to help you achieve your sewing goals. With the right accessories and a little practice, you can create beautiful and professional-looking items that will last for years to come.

Maintenance and Care
Regular maintenance and care of your Brother 1034D serger is essential for optimal performance and longevity, ensuring smooth operation and reducing wear and tear.
Cleaning and Oiling the Serger for Optimal Performance
To clean and oil your Brother 1034D serger, start by removing any loose threads or debris from the machine. Use a soft-bristled brush to gently sweep away any dust or lint. Next, apply a few drops of serger oil to the recommended oiling points, making sure to follow the manufacturer’s instructions. Regular cleaning and oiling will help maintain your serger’s performance and extend its lifespan. It is also important to check and replace the needle and loopers as needed, as worn or damaged parts can affect the serger’s ability to function properly. By following these simple maintenance steps, you can keep your Brother 1034D serger running smoothly and ensure that it continues to perform at its best.
Additionally, it is recommended to refer to the user manual for specific guidance on cleaning and oiling your Brother 1034D serger, as different models may have slightly varying requirements. By taking the time to properly maintain your serger, you can help prevent common issues and ensure that your machine continues to run smoothly and efficiently.
Regular maintenance can also help to prevent damage to the serger and reduce the need for repairs. It is also important to store your serger in a dry and clean environment, away from direct sunlight and extreme temperatures. By following these simple tips, you can help to extend the life of your Brother 1034D serger and ensure that it continues to perform at its best.